If you have ever arrived at your hotel after a long-haul flight and spent the first ten minutes on your knees with your bag upside down searching for a USB-C cable, you already know the problem. Cables do not stay where you put them. They migrate, tangle, and colonize the far corners of every pocket they touch. By the time you find the right charger, your phone is at 4% and your patience is at zero. There is a better way, and it takes about fifteen minutes to set up properly.
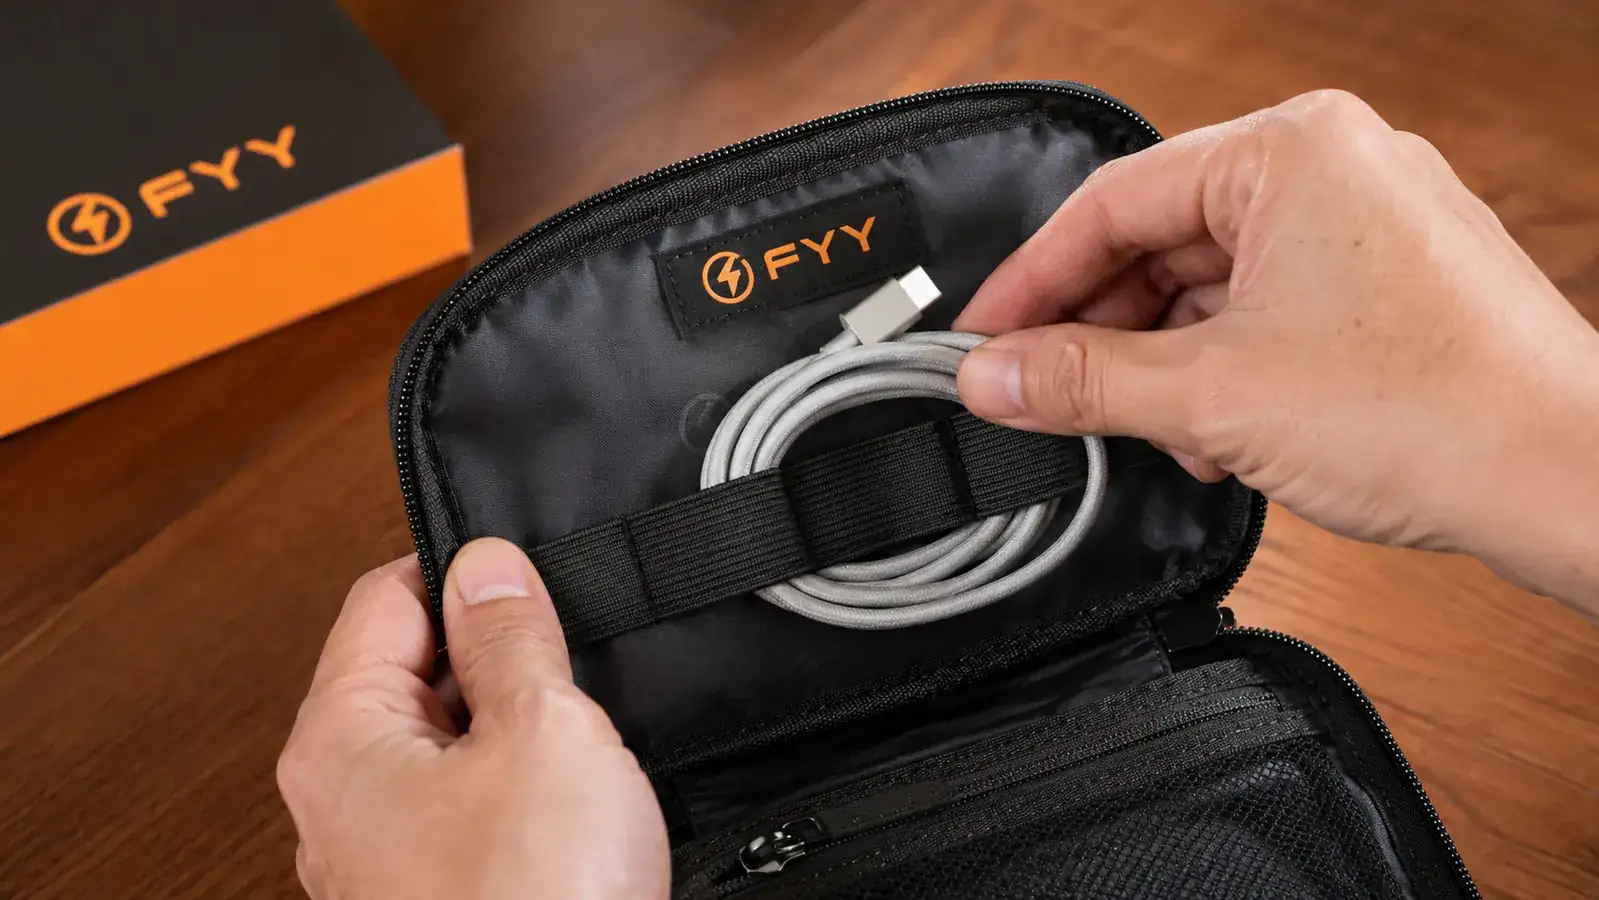
I have been traveling carry-on only for years, which means every item in my bag earns its spot or it gets cut. A cable organizer pouch was one of the last things I added and one of the first things I would never remove. The one I use is the FYY Travel Cable Organizer Pouch, a double-layer waterproof nylon case with elastic keeper loops on the inside. At under ten dollars and with over 38,000 ratings on Amazon, it is genuinely one of the highest-leverage purchases in my bag. This guide walks you through the exact system I use to fill it, label it, and never dig through my bag again.
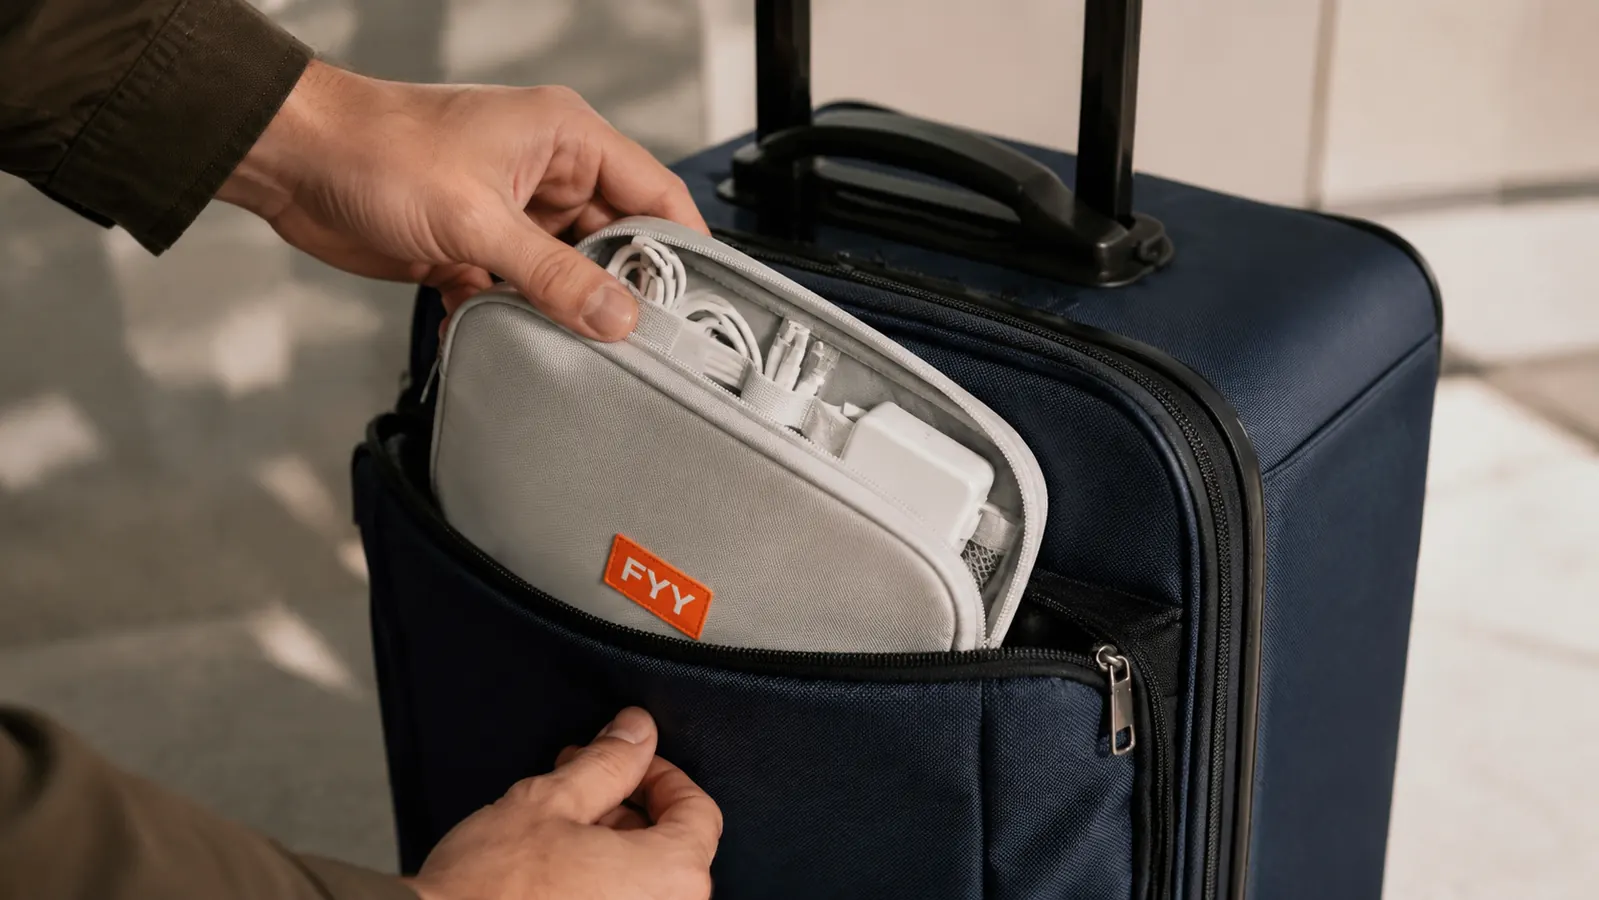
Still digging through loose cables at the airport? This pouch ends that.
The FYY Travel Cable Organizer holds two full layers of cables, adapters, earbuds, and a charging brick. Waterproof shell, elastic keepers, and a double zipper that opens flat. It is the tool this guide is built around.
Amazon Check Today's Price on Amazon →Before You Pack: Do a Cable Audit
The biggest mistake I see travelers make is trying to organize clutter rather than reduce it first. Before you put a single cable in your pouch, dump everything you currently carry onto a table and sort it into three piles: (1) cables I use every single day, (2) cables I might need, and (3) cables I cannot remember ever using but keep out of vague anxiety. Pile three goes back in the junk drawer at home. Pile two gets one representative member at most.
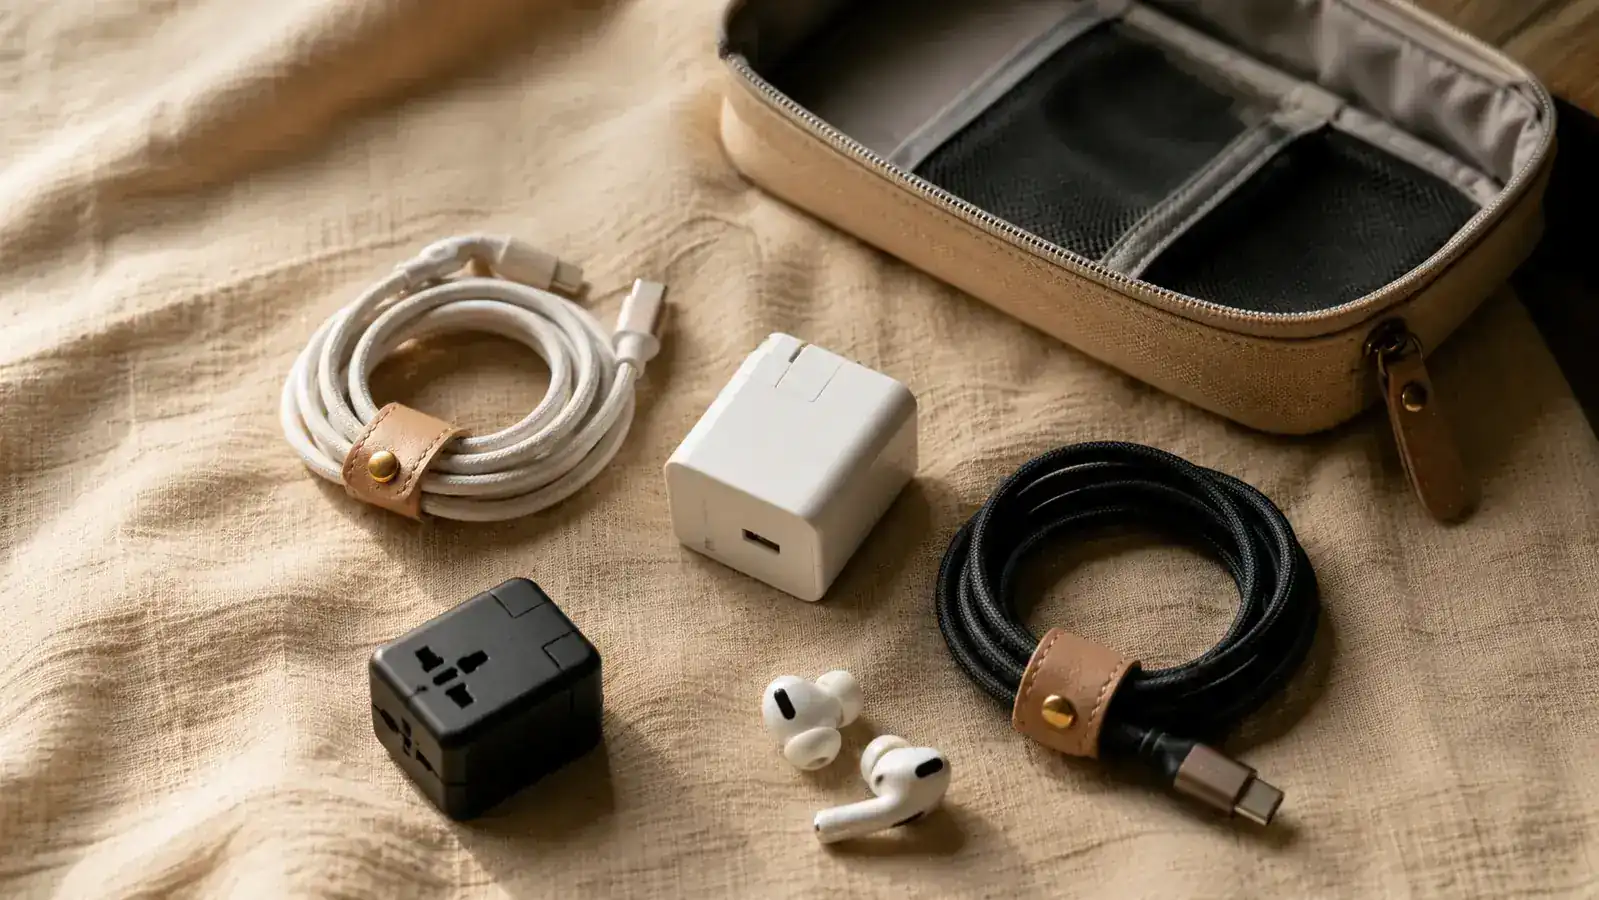
For most travelers, the essential list is shorter than you think. I carry one USB-C to USB-C cable, one USB-C to Lightning cable (for accessories that have not updated yet), my Apple Watch charger, a compact 65W GaN charging brick, one set of earbuds in their case, and my universal travel adapter. That is six items total. A dedicated cable pouch makes six items faster to access than a loose ziplock full of twenty.
Step 1: Standardize Your Cable Length
Long cables are the enemy of a tidy pouch. A six-foot USB cable coiled inside a compact organizer creates a mass of loops that catches on everything and pops the zipper if you overstuff. The sweet spot for travel cables is three feet, which is long enough to charge your phone on a nightstand while it sits on the floor but short enough to coil cleanly into a two-inch loop. If you have not already replaced your full-length cables with travel-length versions, do that before you invest time in any organization system. It is the single biggest upgrade you can make.
Once your cables are the right length, learn one coiling method and use it every time. The over-under technique, borrowed from audio professionals, prevents the internal wire memory that causes cables to spring out of neat coils and resist lying flat. Loop the cable over your hand, then alternate the direction of each successive loop. When you reach the end, wrap the last six inches around the bundle twice and tuck the connector through the wrap. It takes about ten seconds and keeps cables relaxed rather than kinked.
Step 2: Label Every Cable Before It Goes In
Labeling sounds fussy until you are sitting in a dark overnight train trying to find your watch charger without waking your seatmate. Small adhesive cable labels or a one-inch strip of colored electrical tape wrapped near the connector end is all you need. I use a color code: blue for the fast-charge brick, orange for USB-C to USB-C, green for USB-C to Lightning, and red for my travel adapter. In a dim hotel room I can pull exactly what I need by color without unzipping the whole pouch.
A permanent marker on electrical tape works fine. You do not need a label maker, though a Brother P-touch with heat-shrink labels is genuinely satisfying if you already own one. The point is that every cable should be identifiable by touch or a quick glance without having to pull it fully out of the pouch. Once the label is on and the color code is memorized, retrieval becomes automatic.
Step 3: Load the Pouch in Layers, Heaviest on the Bottom
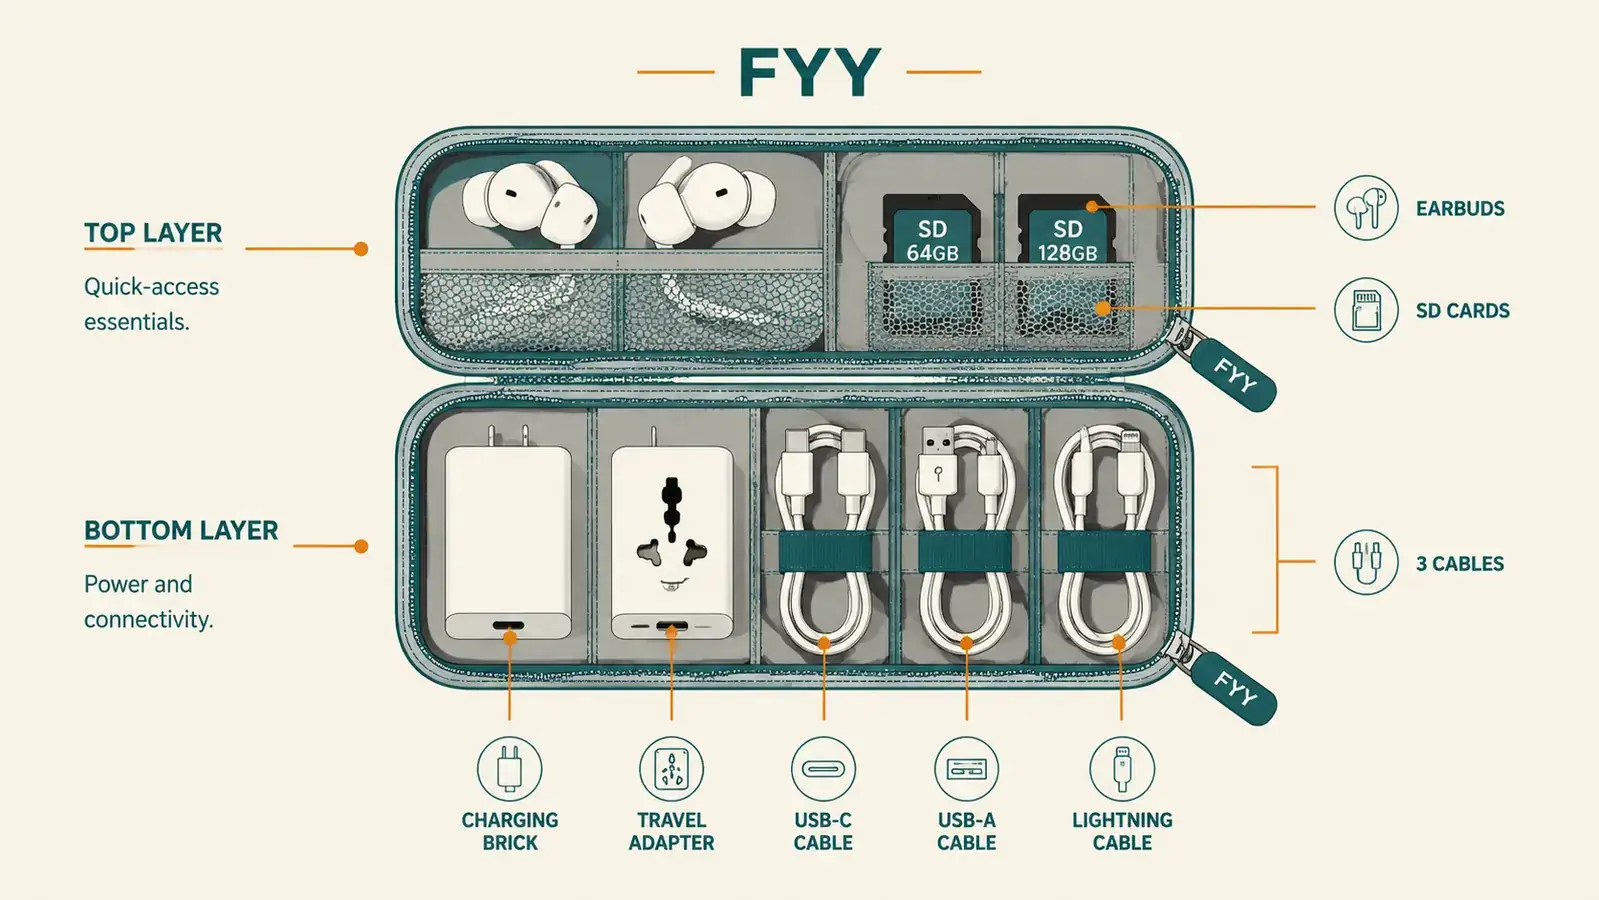
The FYY pouch opens flat and has two distinct layers, each with elastic keeper loops and a mesh pocket. The system I use treats these as two separate zones with different access priorities. The bottom layer holds items I need once a day at most: the charging brick, the travel adapter, and any cables I use at the hotel but not mid-flight. The top layer holds everything I might grab in-seat or at a cafe: earbuds, the short USB-C cable, and any SD cards or dongles.
Heaviest items always go in the bottom layer. The charging brick and adapter are dense, and if they sit on top they press down on thinner cables and earbuds and crush them over repeated trips. Elastic keeper loops hold cables in their coiled shape so they do not shift and tangle during transit. The mesh pockets on each layer are sized for SD cards and SIM ejector tools, not cables, so resist the urge to stuff cables in there. Let the loops do the work they were designed for.
Step 4: Assign a Permanent Home for the Pouch in Your Bag
A cable organizer only saves you time if it lives in the same place every single trip. Decide right now which pocket in your carry-on or personal item the pouch will permanently occupy and commit to it. For me it lives in the front exterior pocket of my carry-on, which I can reach without pulling the bag from the overhead bin. It never goes in the main compartment, never goes in my jacket, and never comes out except to hand to TSA during screening.
The reason permanence matters is that the value of organization is not finding the right cable once. It is finding it in two seconds, every time, without thinking about it. When the pouch always lives in the same spot, retrieval becomes a reflex rather than a search. If you have a personal item like a daypack for under-seat storage, a second permanently-assigned spot works just as well, as long as it is truly permanent and not the spot you use when the first spot is full.
The value of organization is not finding the right cable once. It is finding it in two seconds, every time, without thinking about it.
Step 5: Build a Return-to-Pouch Habit After Every Use
This is the step most people skip and then wonder why their system falls apart after two trips. Every time you pull a cable out of the pouch, you must return it before you leave the hotel room, the airport lounge, or the cafe. Not when you pack up. Not when you get to the next city. Immediately. The pouch is not a staging area. It is the home, and the cable lives there when it is not in your hand.
The practical way to build this habit is to do a visual pass around any surface before you leave a location. I call it the four-corners check: look at each corner of the hotel room, desk, bathroom counter, and nightstand before I zip my bag. Cables are the most common item left behind in hotel rooms because they blend into surfaces and stay plugged in while everything else gets packed. The four-corners check catches them every time.
What About TSA Screening?
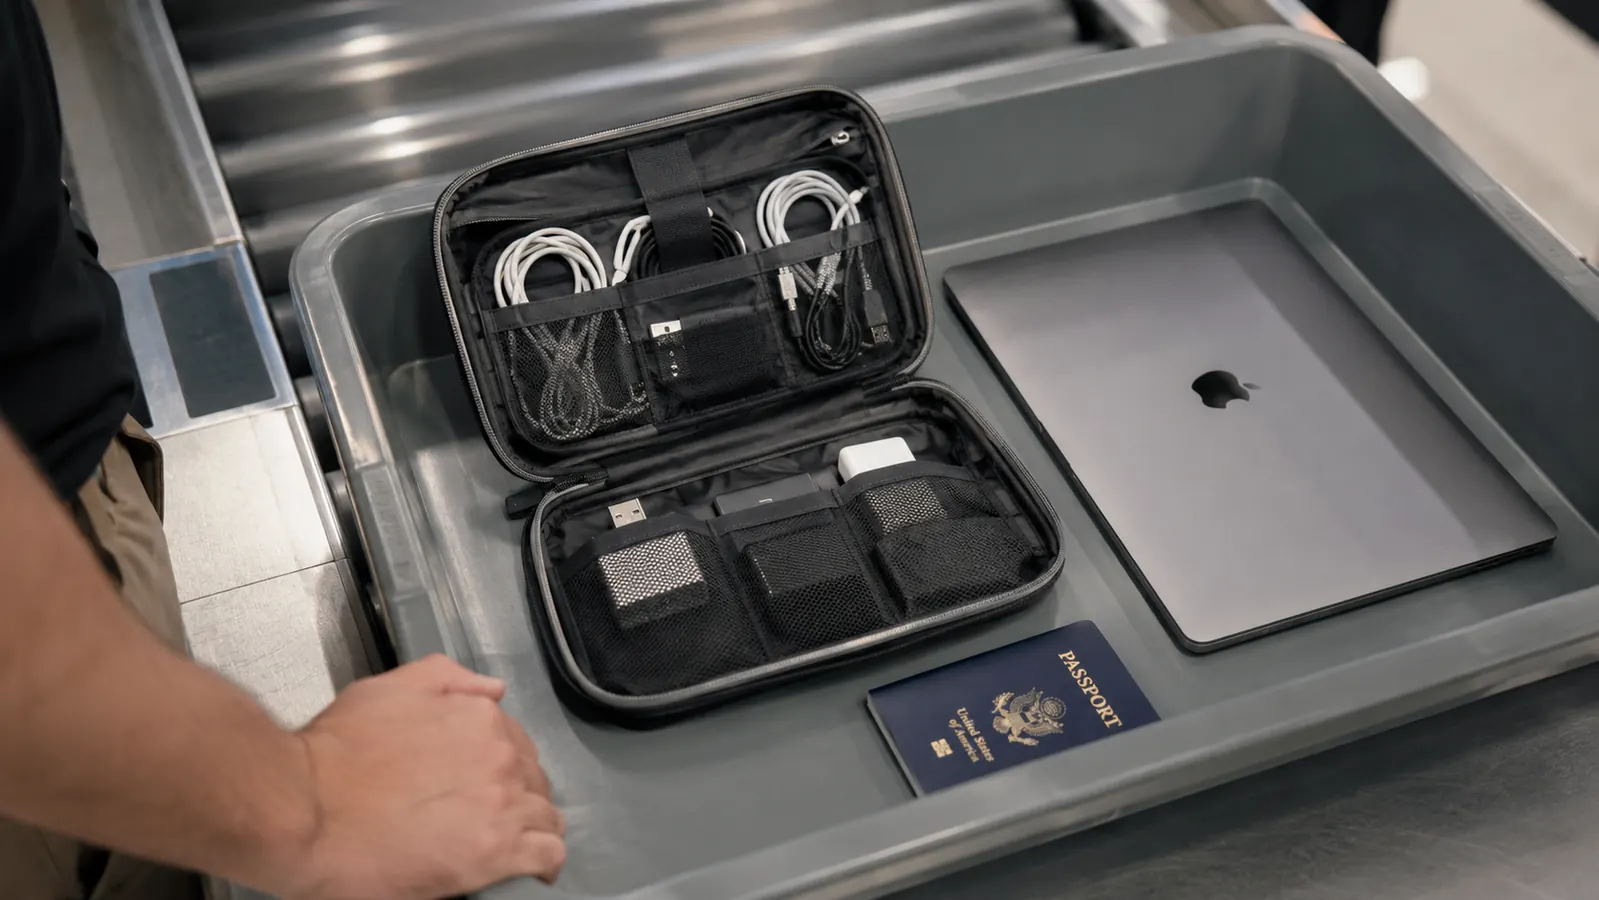
TSA does not require you to remove a cable organizer pouch from your bag the way it requires you to remove a laptop. In practice, dense cable bundles can trigger a secondary bag check if a screener sees an ambiguous mass on the X-ray. The FYY pouch lies flat and the double-layer design keeps cables from compressing into a block, which keeps the X-ray image readable. In two years of carrying it through US, European, and Asian airports I have never been pulled for a secondary check because of the cable pouch specifically.
If you do get flagged, the pouch opens completely flat and every item is visible without unpacking. That actually makes a secondary check faster than digging through a loose bag of cables. The screener can see every item in about five seconds and you are on your way. When in doubt, drop the pouch in a bin separately rather than leaving it inside your carry-on. The few seconds it takes to pull it out and put it back is still faster than a full bag search.
What Else Helps
The cable pouch handles cords and adapters, but there are a few adjacent upgrades that complete the system. A GaN charging brick with both USB-A and USB-C ports means you carry one charger that handles everything rather than separate adapters per device. A universal travel adapter with built-in USB ports further reduces the number of individual plugs in the pouch. For earbuds, keeping them in their own hard case rather than loose in the pouch protects the ear tips and keeps the mesh pocket clear for cards and tools. None of these items require a separate organizer. They all slot into the same FYY pouch once you have the right sizes.
For travelers who carry camera gear, a second pouch dedicated exclusively to memory cards, batteries, and camera cables is worth considering. Mixing photography equipment with everyday device cables creates confusion at both ends: you end up sorting through camera batteries looking for your phone charger and sorting through phone chargers looking for your camera cable. Two pouches, each with a clear purpose, is faster than one pouch with everything.
The FYY pouch is the foundation of everything in this guide.
Double-layer design, waterproof nylon shell, elastic keeper loops for coiled cables, and a compact footprint that fits every carry-on pocket. Rated 4.6 stars by 38,000-plus travelers. Under ten dollars.
Amazon Check Today's Price on Amazon →